EC - Clock In By PC
Follow the instructions below to allow a user to clock in by PC.
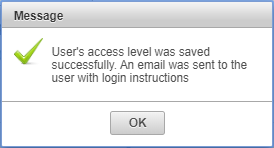

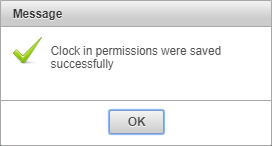


1. Set up Access Level and Clocking Permissions for a user.
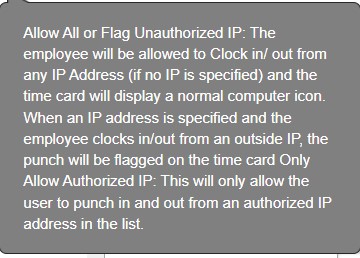
Please note: If you add Authorized IP address:
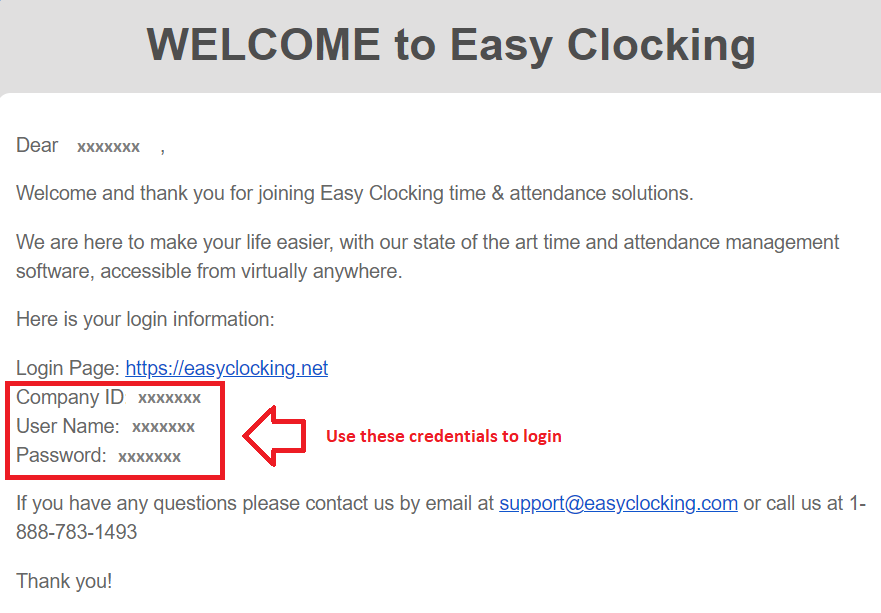
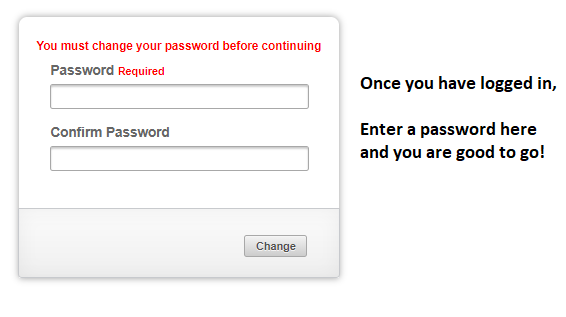
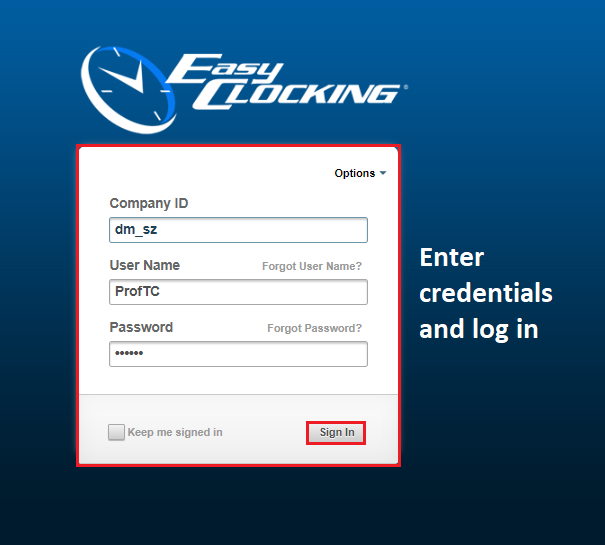
2. Check email for login instructions:
3. Employees can clock in/out through the portal or in the software.
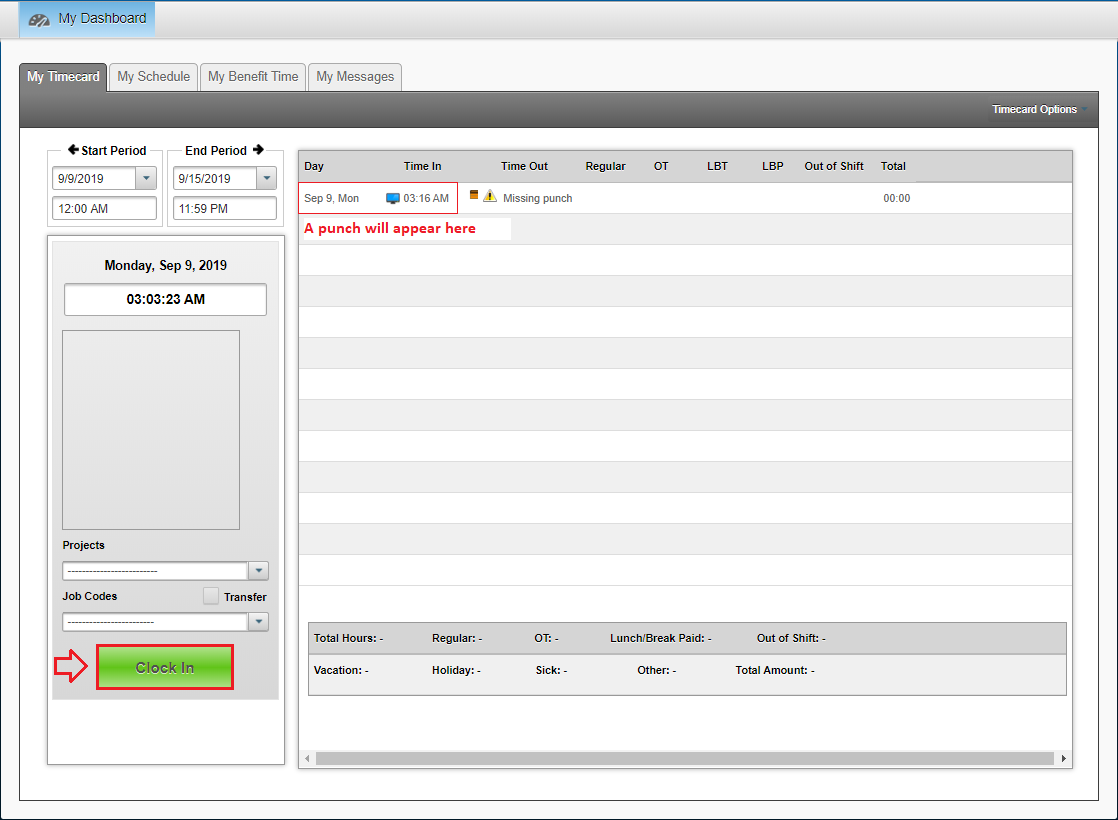
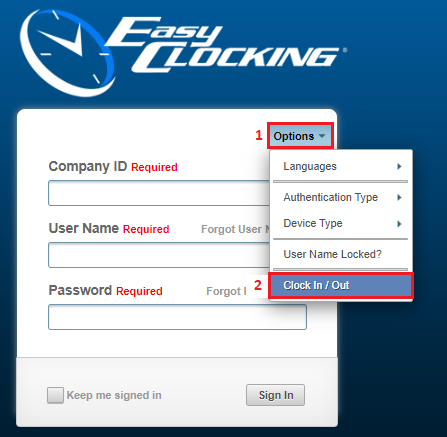
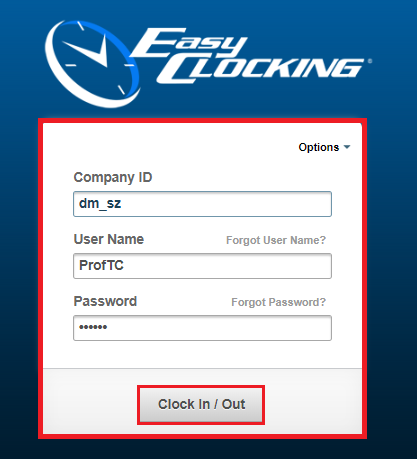
Clock in through the software:
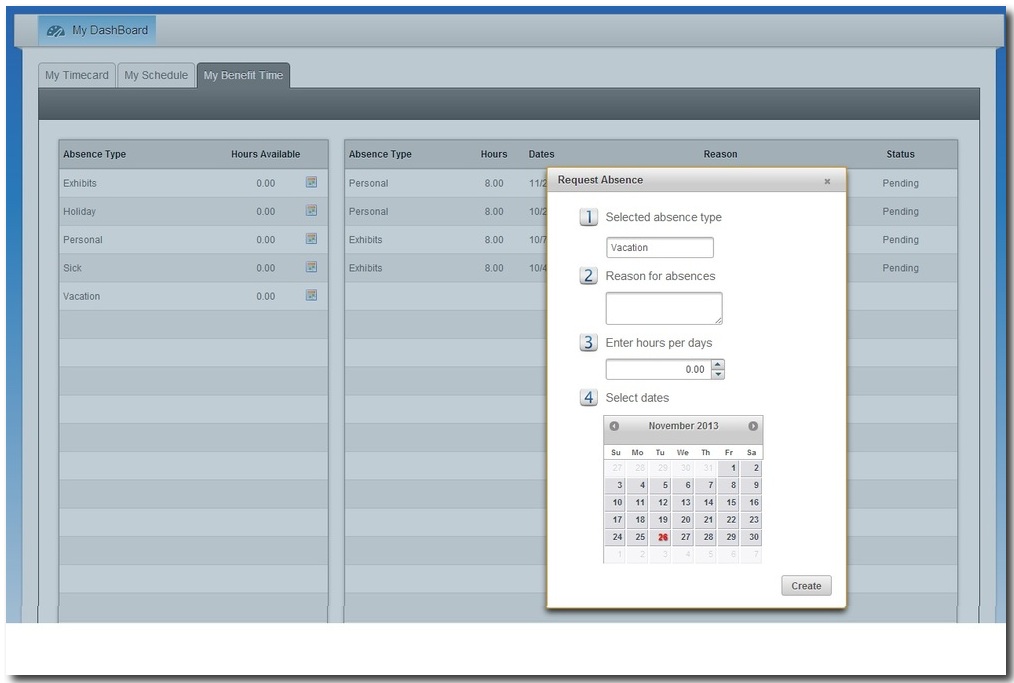
To request time off as an employee:
1) Go to My Dashboard.
2) Click on My Benefit Time.
3) On the left, you will see a section with two columns: ‘Absence Type’ and ‘Hours Available’. From that section, choose the reason for your absence.
4) Once chosen, click the corresponding  to that absence type.
5) A ‘Request Absence’ window should pop up. The first section should automatically be filled by the absence type you selected.
6) In the second field, explain the reason for your absence.
7) In the third field, select how many hours of that day you will be missing.
8) Finally, select the dates on the calendar that you will absent, and then click Create. (Please note: Click the first date then move the mouse to the last date required in in the same week, but if you need to do multi weeks or skip days e.g. weekends press the Control Key on your keyboard and click on the mouse for each date required.)
Clock in through the portal: (EasyClocking.net)
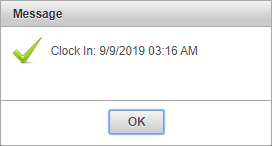
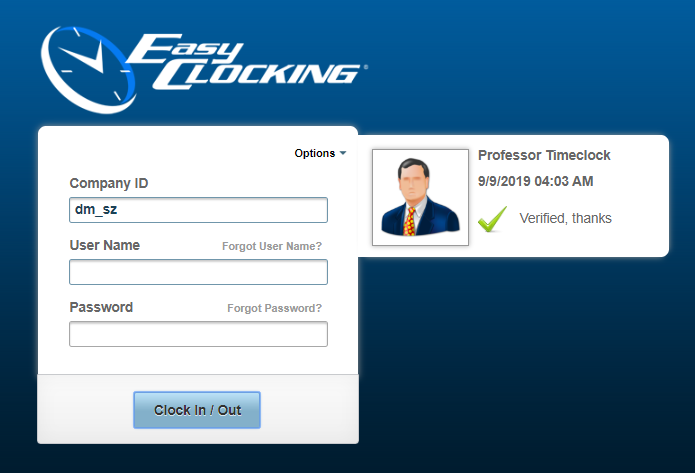
User punches will appear on the timecard.
If you have any questions, please contact our support team.
Email: support@easyclocking.com.au
Email: support@easyclocking.com.au
Easy Clocking Support Team Contact Details
Related Articles
EC - Confirm your device Host PC Settings
To successfully connect your EC device to your software account, you will need to confirm that the Host PC Settings are correct. To confirm the Host PC Settings, navigate to: 1. Menu 2. Settings -> Set IP -> Host PC Settings 3. Enter the Host PC ...EC - Confirm your Device Host PC Settings
To successfully connect your Xenio to your software account, you will need to confirm that the Host PC Settings are correct. To confirm the Host PC Settings, navigate to: 1. Menu 2. Host PC Settings The Xenio smart clock uses one of two options for ...EC - How to check your device is online
If you check your TimeCard and cannot see the clock in and out times. Then it may be because your clock device is not connecting to our cloud system. Note: If you have recently upgraded or changed your modem, please note the device (time clock) only ...EC - User listed in software but not showing on device / Send user information to device.
If you have added a user into the cloud software but you cannot see them on the clocking device the first step is to check that the user has been assigned the correct permission to allow them to clock in/out on the device. The Clocking Permissions ...EC - Clocking Permissions
Managers and Administrators can assign the users to specific devices via the Clocking Permissions tab. The Clocking Permissions tab is where you can give the employee access to clock in via a PC, Mobile Application or the Time Clock. To setup ...